We’ve taken on a few DIY projects since moving in to our new home, like these built in shelves and cabinet. This month, we decided to add a shiplap detail to the kitchen island. There were actually two reasons I wanted to add this. Aside from it just being a nice detail that would stand out, I also wanted to cover up all the scuff marks that were being left on the wall. Painting it the same dark color we painted the cabinet, Sherwin Williams Jagged Granite, would definitely solve that problem!
After a bit of researching we found it was super easy to install shiplap to the wall! We didn’t even have to buy actual shiplap. We ended up buying a 4x8ft underlayment, and had home depot cut it in strips to the size we wanted. This helped speed the process up a ton since all we had to do was cut some of the planks shorter when needed. We wanted to do a trim just to create some clean corners since or island had rounded corners, so we went with a 1×4 trim board.
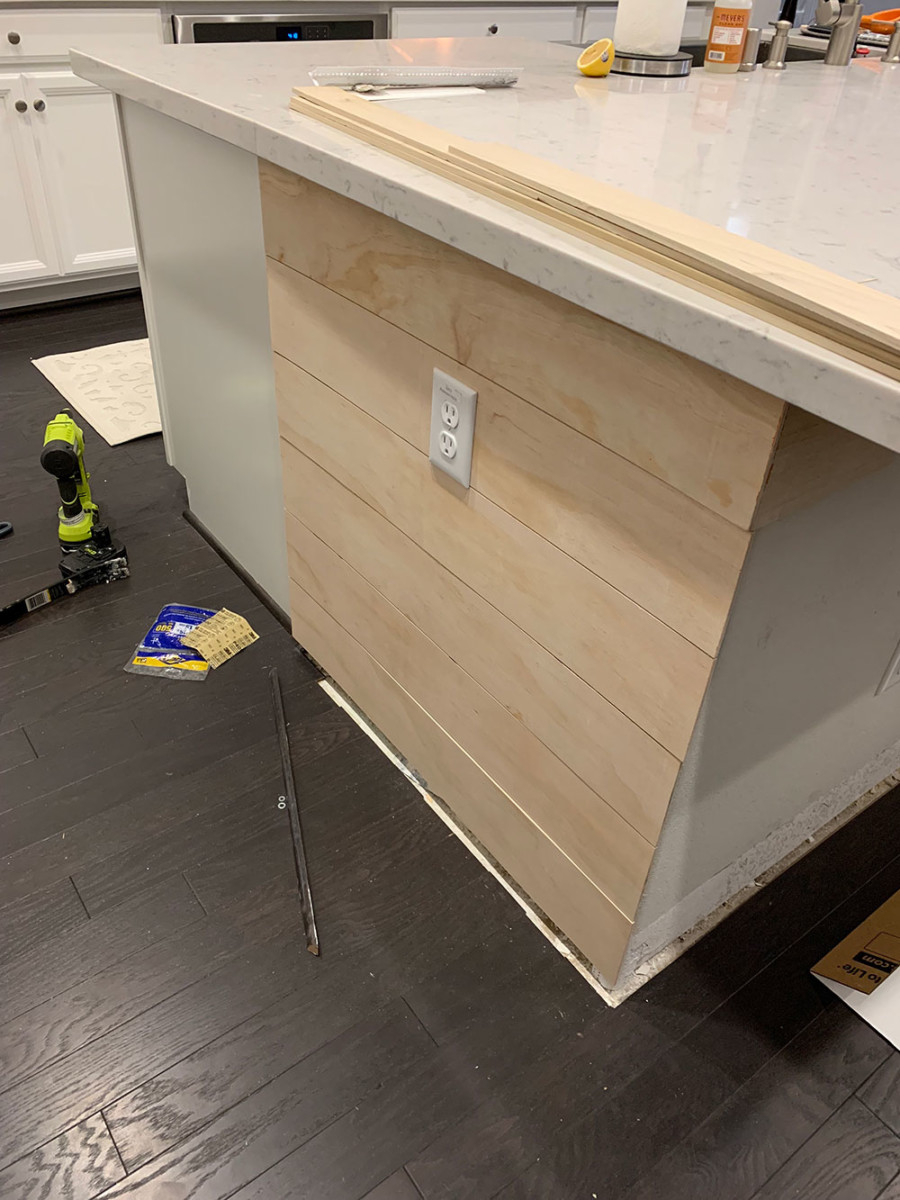
Below, you can see how the wall looked before with all the scuff marks. We could have easily just painted it, but I thought the shiplap would be a nice touch!
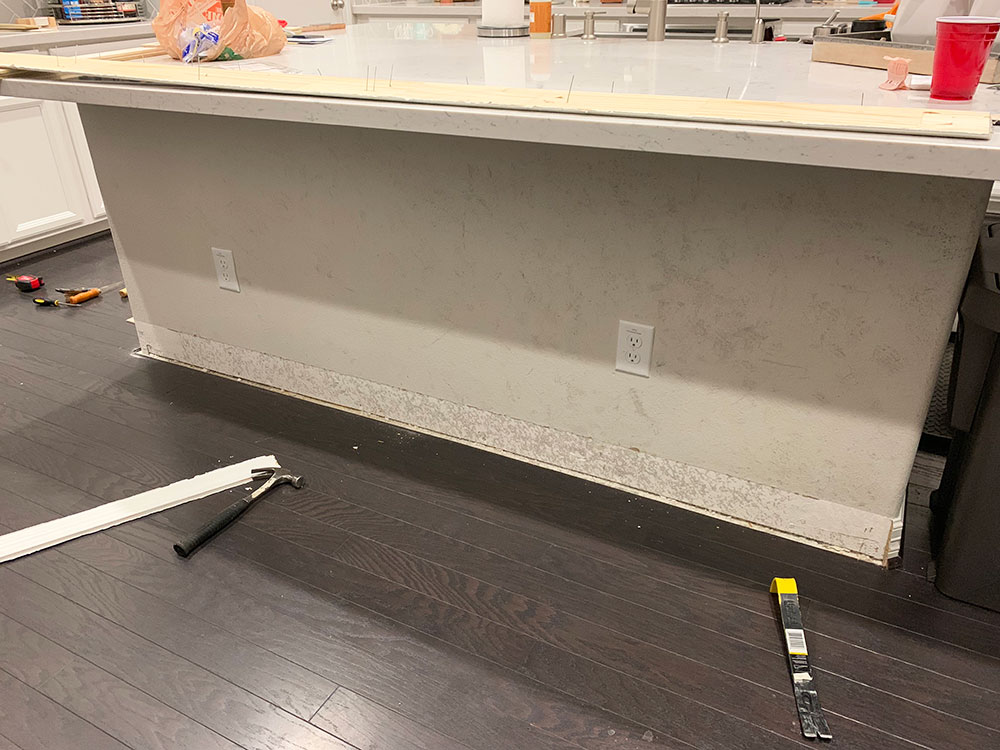
As you can see, we started off by removing the original baseboards. We decided not to reuse them and just leave the 1×4 trim piece so that it all flowed much nicer.
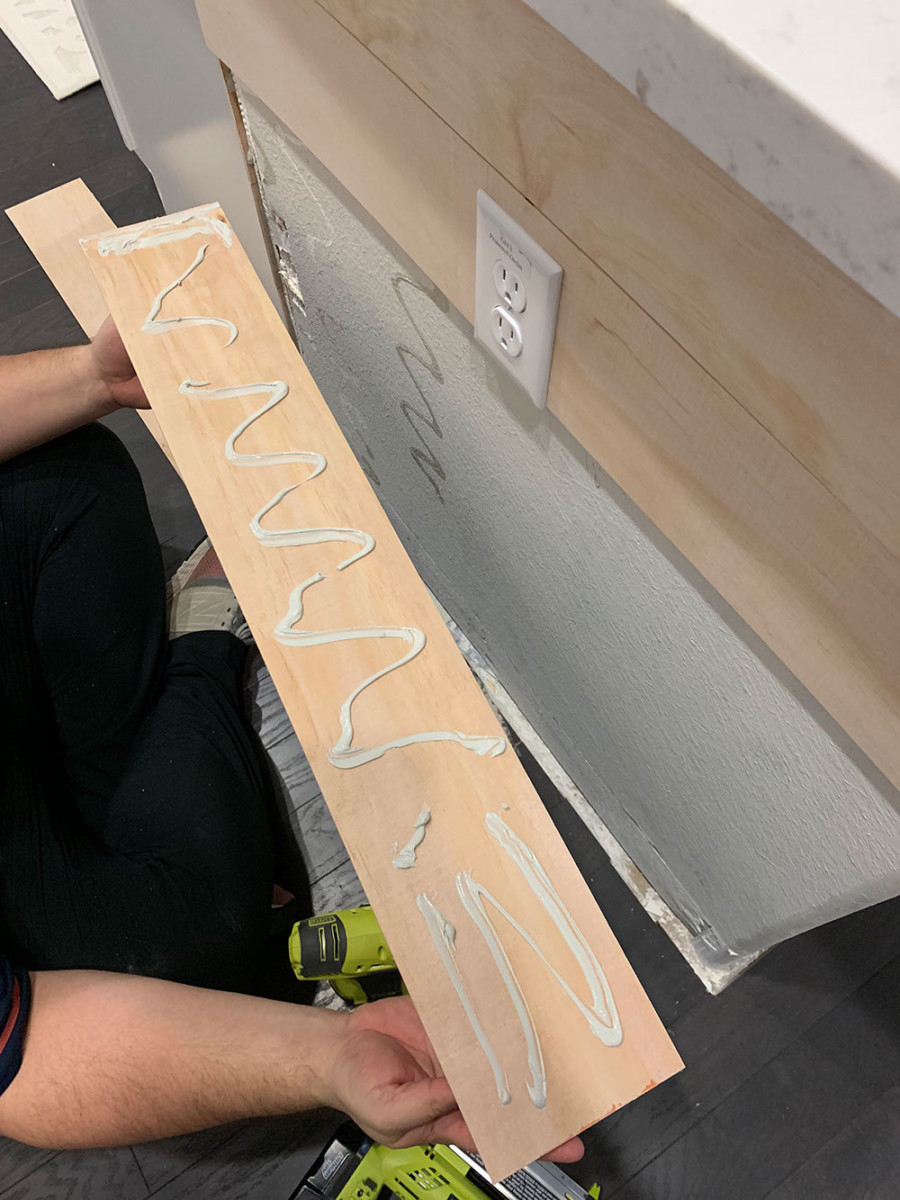
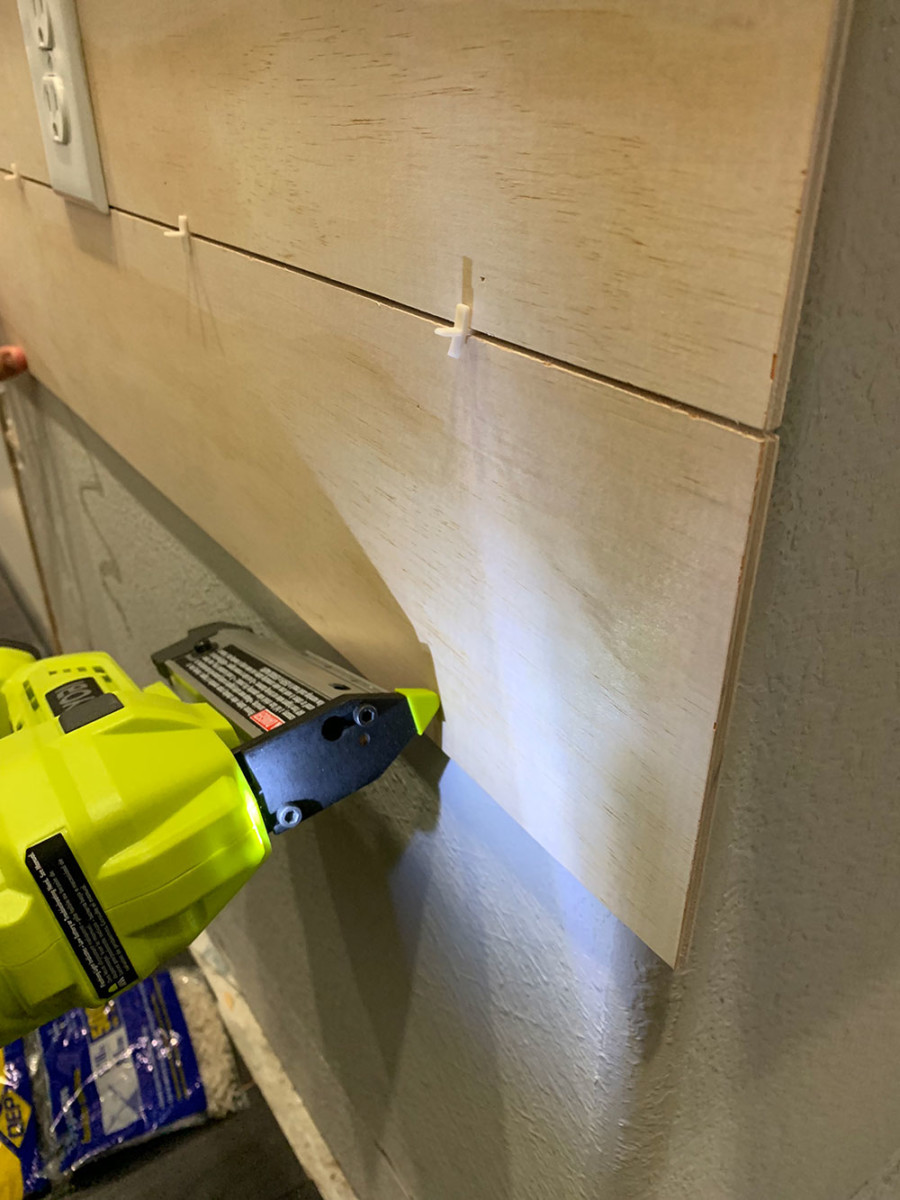
We then applied the first strip at the top with glue and secured it with nails. To keep the spaces in between each plank the same, we used spacers to separate each piece. You can use a penny for this but we just bought a small bag of tile spacers to use instead. I twas pretty much smooth sailing at this point, gluing and nailing the strips onto the wall. The only point where we had to take a little bit of extra time and create new cuts was for the electrical outlets.
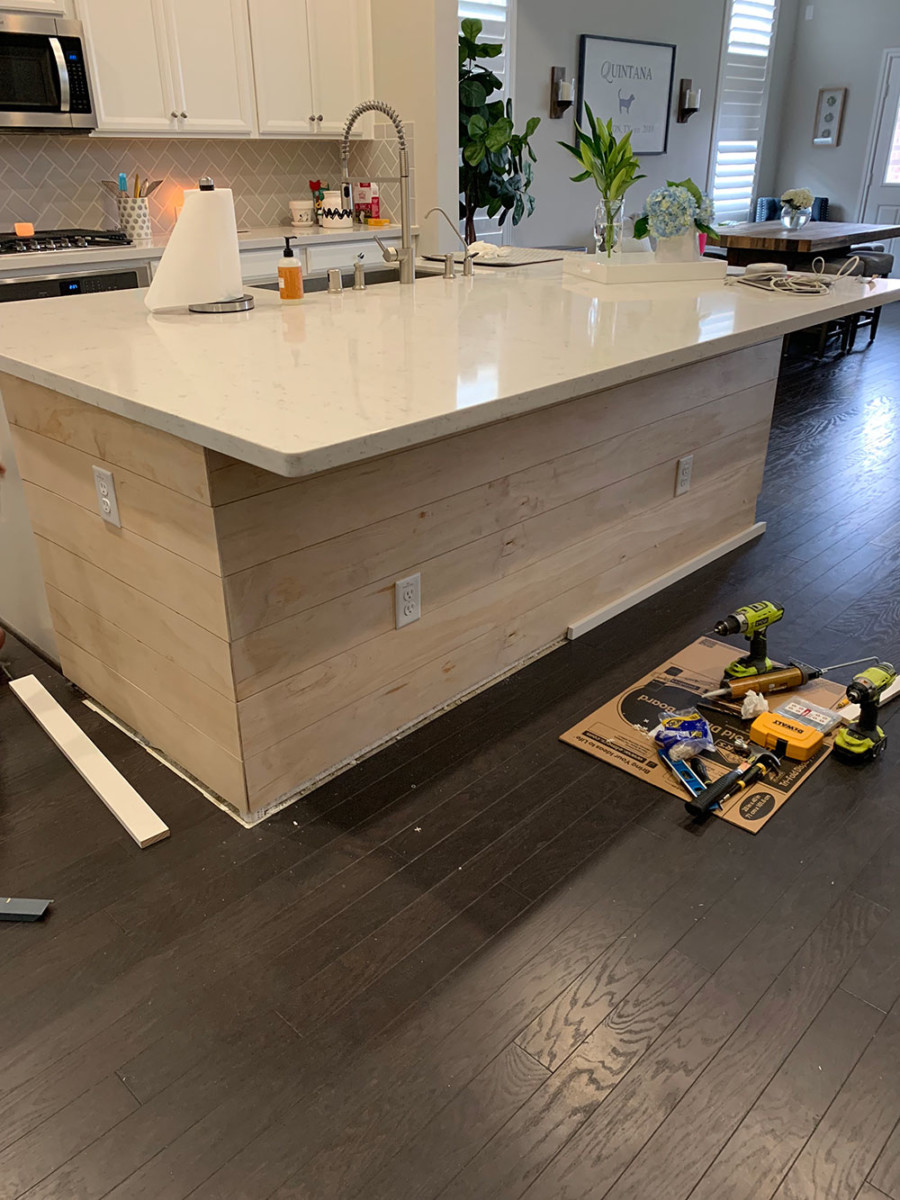
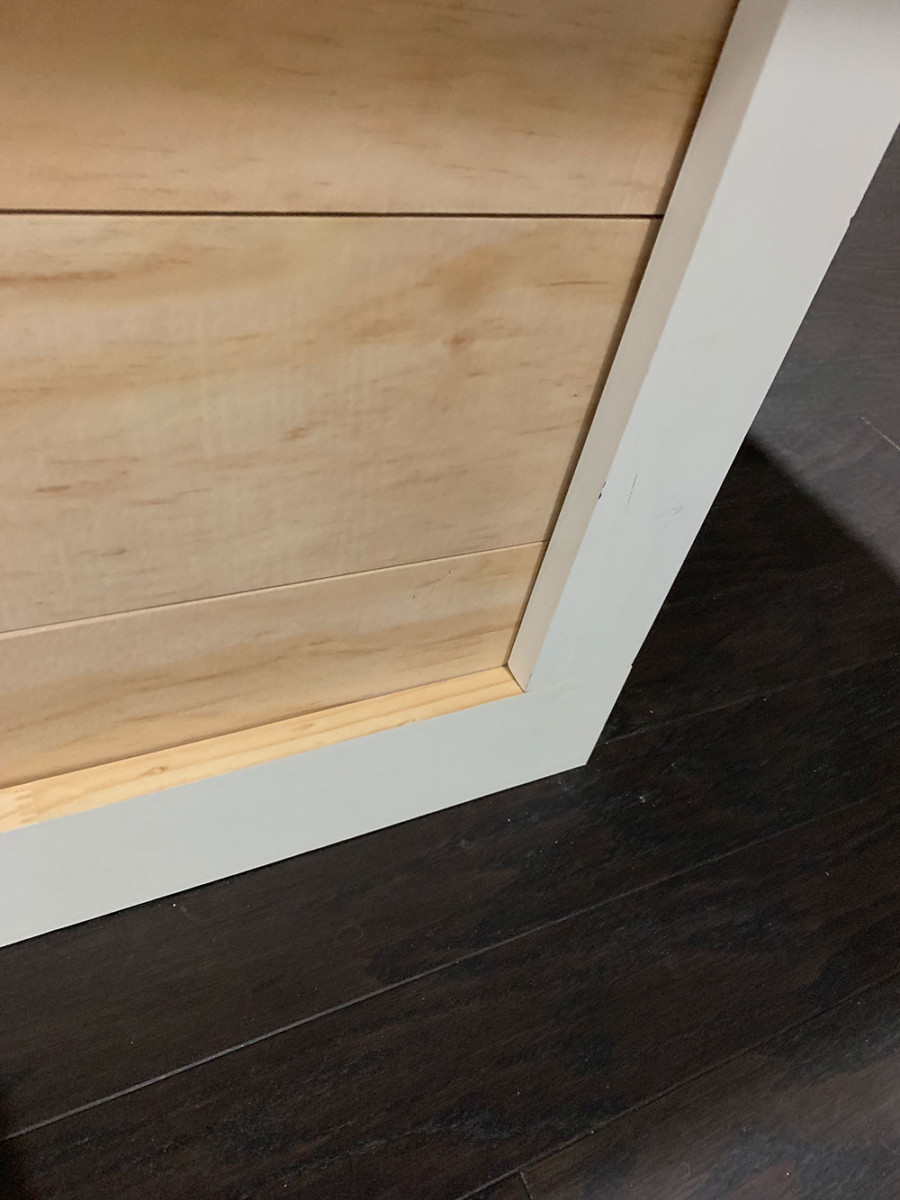
Once all of the wooden planks were glued and nailed onto the wall, we added the frames. For this, we just made sure to line everything up evenly so that the edges came out square. Then followed the same process of gluing first and then nailing them into the wall. We made sure to use longer nails for this to make sure they went all the way through the thicker piece of wood.
For the piece at the bottom, we had it cut just a bit wider to make up for the quarter round that would be placed over it. This way, all the boarder pieces would appear to be the same width all around.
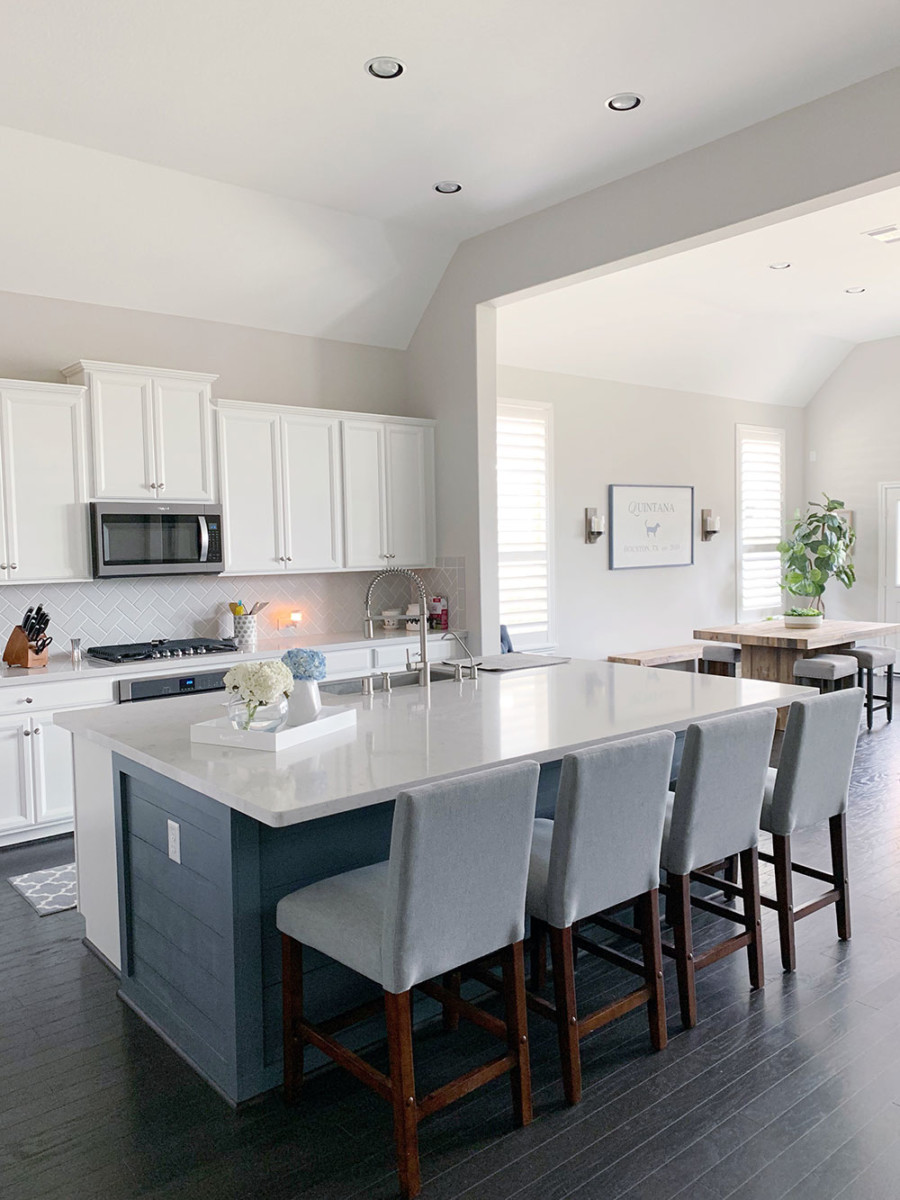
This brings us to the final step, painting! Like I mentioned above, we used Sherwin Williams paint in the color Jagged Granite. It’s a gray color with a cool blue tint to it. It only needed one coat (two in certain spots). Once the paint dried, we attached the quarter rounds back on. That’s it!
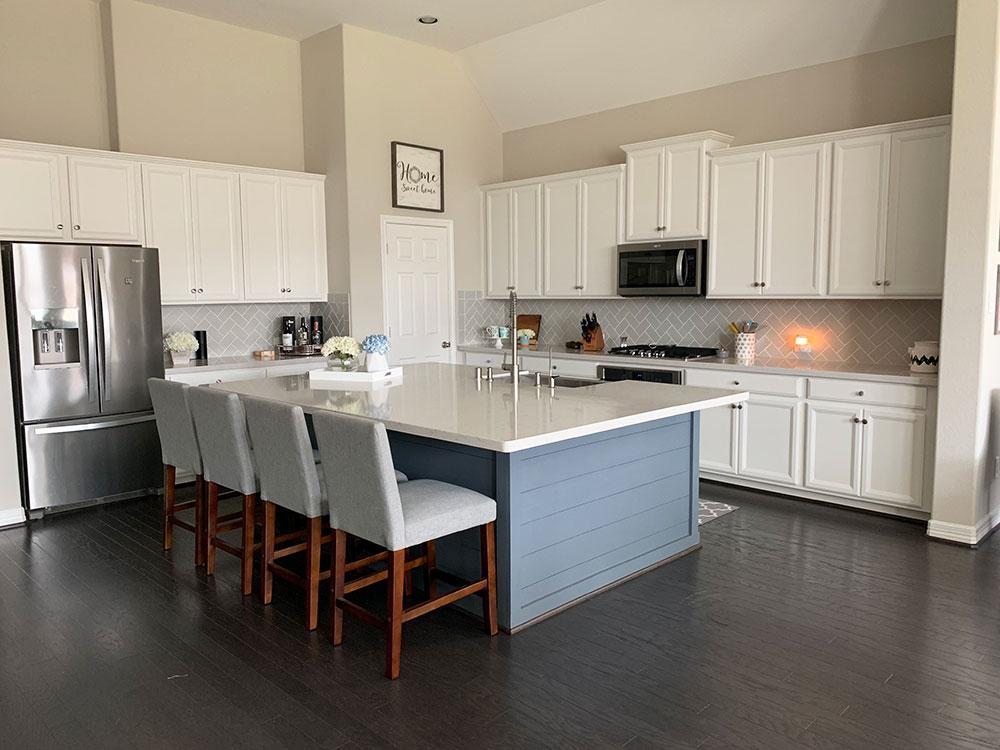
Below you can see the finished product! I am really happy with how it all turned out, especially for being a pretty inexpensive DIY.

Syreta
I love this. Just one question. What size strips did you end up going with? Or how did you determine which size strips to go with?